
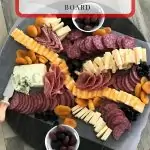
Looking to impress your guest at your next social gathering? This simple to make Charcuterie Board is the way to go.
Loaded with a variety of cheeses, meats, and dried fruits to make a great appetizer recipe.

Learn how to make a beautiful cheese board that will have your guests coming back to all your social gatherings.
What Is A Charcuterie Board?
Charcuterie is a French word for cured meats such as salami, prosciutto, bacon, sausages, and pâté.
Nowadays it is common when you order a charcuterie board at a restaurant that is filled with meats, cheeses, and accouterments.
Cheeseboards can be fun to make, it's a great way to show your creative side. I love making Charcuterie boards at Christmas time, but they are also great for entertaining all year long.
Cheese and Sausage
The best way to start your cheese board is with a cheese that you like or that you want to try. I have a love of cheese and have been trying different cheeses for a while now.
There are so many great cheeses to try so your cheese platter can be a wide variety.
If your local grocery store has a deli they may also have a great cheese section. This is where I have been finding some great cheese to try.
Once you have your cheese figured out it's time to think of what else you would like on your board. I started making cheese boards because of my love of cheese and sausage.
So this is always my second step in buying for a board.
Like cheese, there are many different types of sausages to choose from. Our family's all-time favorite is a summer sausage, so my boards almost always have a summer sausage on them.
At our local grocery store, we have a counter that is dedicated just to cheese and then there is also a smaller counter that holds a variety of meats that is in our deli section.
They have a decent selection of deli meats that work great on a Charcuterie board.
Of course, if you have a specialty store that carries cheese and deli meats that would be a great place to find what you are looking for.
Assembling a Charcuterie Board
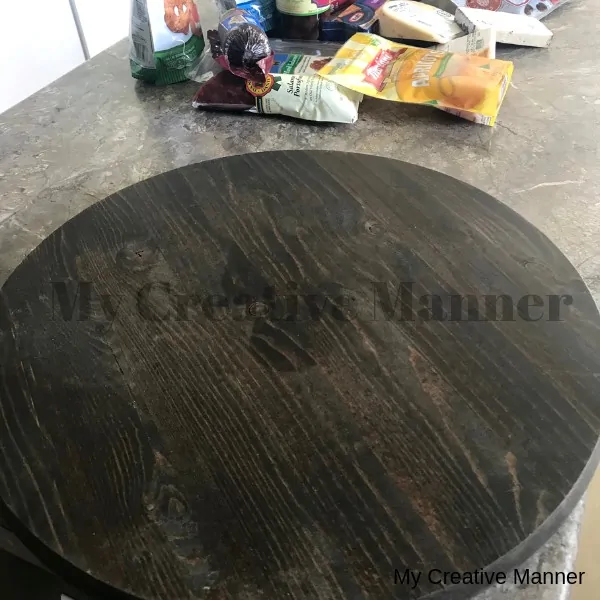
The first thing you will need is some type of board or plate. The size depends on how much you want on your cheeseboard.
We invited a family over from our Church so I needed a large board, this board worked wonderfully for what I had in mind.
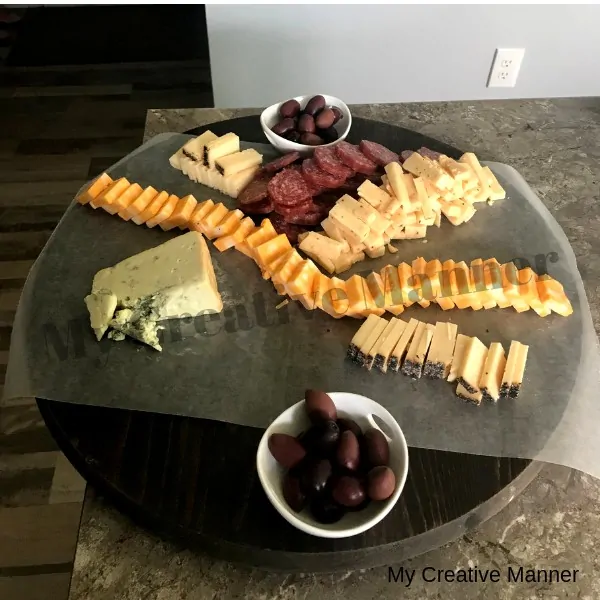
Placing a sheet of wax paper as a guide as to where I wanted the cheese and sausages. Plus the wax paper helped act as a bearer in case the cheese wanted to stick to the board.
Even though I'm not a fan of olives I wanted to accommodate our guest and my husband. In these cute little dishes, I added whole Greek Kalamata olives.
Adding The Cheese And Sausage
The first cheese that I placed in the middle is a good old Colby Jack. I figured that I couldn't go wrong with Colby. The Colby Jack came in an 8-ounce package.
I cut this in half lengthwise then sliced bite-size chunks. When placed on the board I wanted that fallen dynamo effect going both ways.
There is a chunk of this cheese that is laying down with slices going both ways to get the dynamo effect both ways.
When cutting your cheese you will want to keep in mind the size of the cheese. You will want all the cheese you have selected to be more of a bite-size or to fit on a cracker.
That is if the cheese will need to be sliced.
The next cheese I used was a Smokehause Blue Cheese. Since it was a creamer type of cheese I was able to just place it on the board and make available a cheese knife for spreading.
This went wonderfully on Carrs Table Water Crackers that I picked up at Dollar Tree. For blue cheese, it wasn't that strong of a taste. I will be buying this one again.
In the picture at the top left and bottom right, you can see is a Bella Vintano Chai Cheese made by Santori.
My husband didn't like this cheese, I however really liked it. Our guest must of as well because there wasn't much of that left.
Top right in the picture is a Maple Leaf Chipotle Jack Cheese. For being a Chipotle cheese it wasn't that spicy. Next, to this cheese, I placed sliced up Salame Portofino.
You may like this one but I didn't and my child with the braces found it hard to bite. So I'm thinking I will pass on this one for my next board.
The next sausage was a Summer Sausage by Johnsonville. You can find this in the picture at the bottom on both the right and left side next to the Bella Vintano Chai Cheese.
Finishing Touches
One of the last deli meats that I added was a Hard Salame that was thinly sliced. To make it more decorative I folded it in fourths and tucked into places around the board.
At the top left it's laying down but in the middle of the board it kind of looks like little flowers.
Adding some dried Apricots and cherries around the board helped fill in the empty spots.
Since I made this ahead of time it would need to go into the refrigerator so I didn't add the cracker at this point.
I placed three types of crackers and some pretzel chips around the outer end of the board.
The crackers that I used were Monet Original (from Dollar Tree), Carrs Table Water Crackers, Town House Pita Seasalt, and Snack Factory pretzel chips.
All in all, I was very pleased with how this board turned out, all the flavors on this Charcuterie Board were enjoyable.
I have to say this one was fun and easy to put together. I can't wait to make another one and get a little more creative with it.
Answering the question "what's there to eat" ~ Jen
Other My Creative Manner recipes you may enjoy are:
- Seven Layer Taco Dip
- Garlic Cheese Ball
- Crab Stuffed Mushrooms
- Instant Pot Mac and Cheese
- S' mores Dessert Board

Michelle
My grand-daughter is getting married in October and they being young and hip have chosen to dochacouterie for their wedding meal..we look forward to trying something new to us...will show some of the boards...michelle
Jennifer
Congratulations to them!! What a great idea for a wedding meal, I love that idea.