

Come tour our home for Christmas decor ideas that you can use in your home. See an elegant red and silver Christmas tree as well as a rustic tree, learn how to turn a simple garland into a full lush looking garland.
I have a little Christmas obsession. I love to decorate, love all our family traditions, baking cookies with the kids, and celebrating the birth of Christ.
This year I did my Christmas decor a little different than years past. Come in and take a tour with me to find Christmas decor ideas to use in your home.
Come Tour Our Christmas Home
What better place to start a tour then at the front door. I didn't show you the front porch decorations because they are the same as last year.
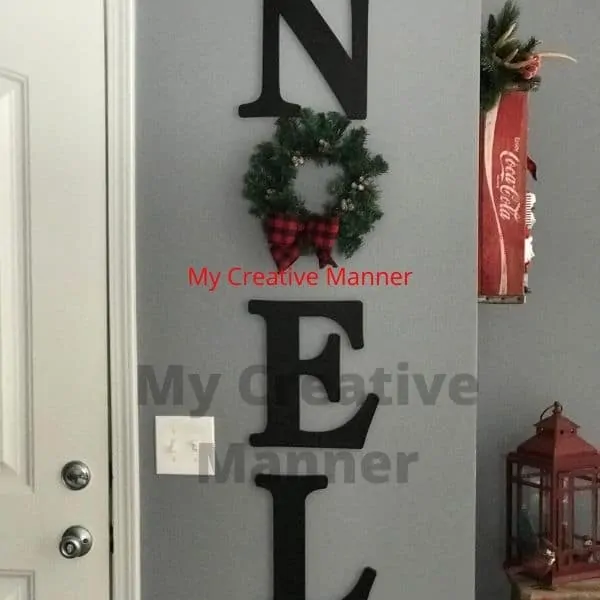
However, I am showing you my beloved NOEL sign once again. We painted the foyer after Christmas last year.
I love how the NOEL sign stands out against the grey paint. What I like about this sign is that I can change out the wreath. Since the foyer is more farmhouse this year so is the wreath that is in the NOEL sign.

Most of the foyer is the same as it was last year except for small changes. Like on this little tree I added grapevine as well as real pine cones.
The grapevine was fun to add to this tree. I did use real grapevine but you could also cut a grapevine wreath up and use that in a tree.
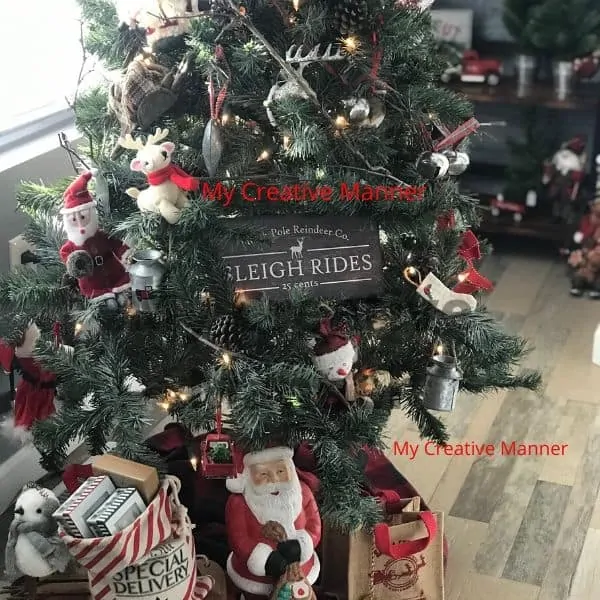
I like to use different things as a tree shirt. This year I decided to use a blanket as the tree shirt on this tree. I feel using what I have is more budget-friendly.
As you enter into the living room we have this wall with a mirror on it. This side table is normally in the living room. But since I had no room in there for it I felt this was the perfect place for it.
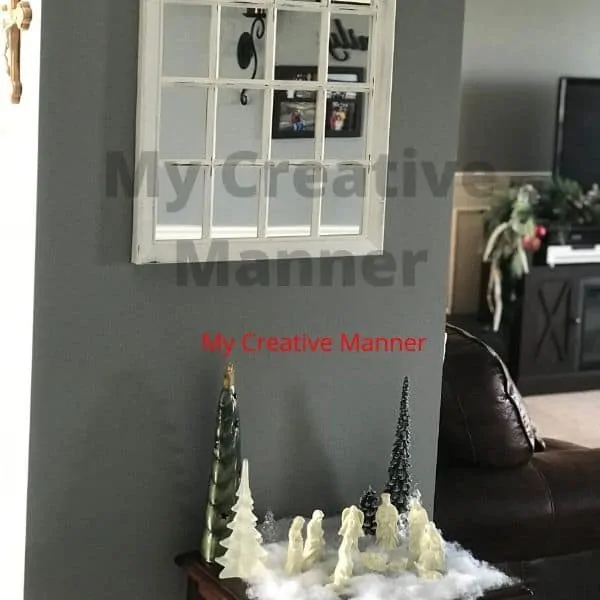
Adding the nativity and trees sets the transition from rustic to more elegant Christmas decor. I used pillow filling as the blanket around the nativity to give that snowed look.
Living Room Christmas Tree

My prelit tree did have some burned-out lights this year, so I added 2 strings of clear lights. Plus I found these really beautiful shimmering flame lights at the At Home store.
They look amazing at night, they dance around almost like twinkle lights.
Under the tree, I did my old standby. By adding quilting padding, 2 strings of clear lights, and then tulle on top of it, gives a snow effect under the tree. Under the tree is a favorite place for the cats to take a nap.

This year my inspiration for the big Christmas tree was these cranberries. The deep red of the cranberries with the slightest touch of frost on them. They are picks that you can find at Hobby Lobby.
There are only a few of these on the tree but I have other types of berry picks to add that clustering effect. I also added pine picks, these gave the tree more depth and also helped to make it look fuller.
How beautiful is that ribbon? That deep cranberry next to the silver really adds elegance to the tree.
How To Add Ribbon To A Christmas Tree
The ribbon was easy to place on, placing the cranberry color on top of the silver. I then gathered the two together using a pipe cleaner I twisted it around a branch.
Moving down the ribbon a few inches and creating a bubble I then secured to another branch.
Working in strips instead of wrapping around the tree saved on the ribbon. Plus this allowed me to leave a tail at the ends.
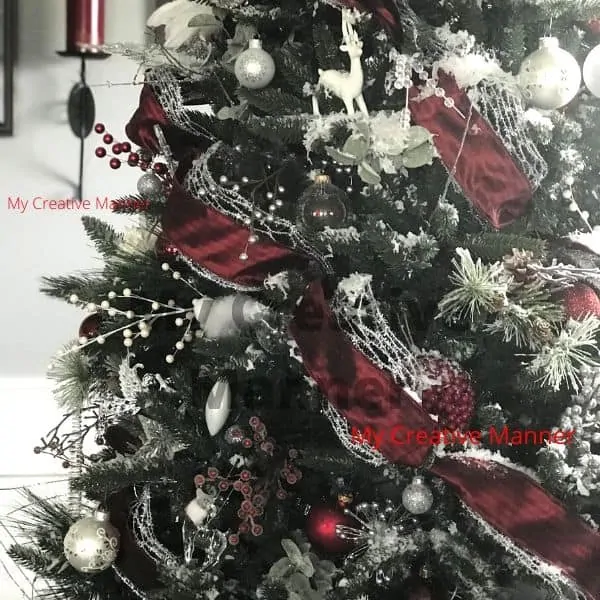
The decor on the Christmas tree is a mixture of white, clear glass, red, and silver. Different textures and sizes help create depth and fill larger holes.
I'm a sucker for floral picks that stick out of the tree. I have picks with pearls, red berries, and then silver branch-like picks that are covered in glitter.
One of the final touches I add to my tree every year is sparkling snow. My dream is to have a beautiful flocked tree but until then I will add the sparkling snow to this tree.
Securing Garland To A TV Stand
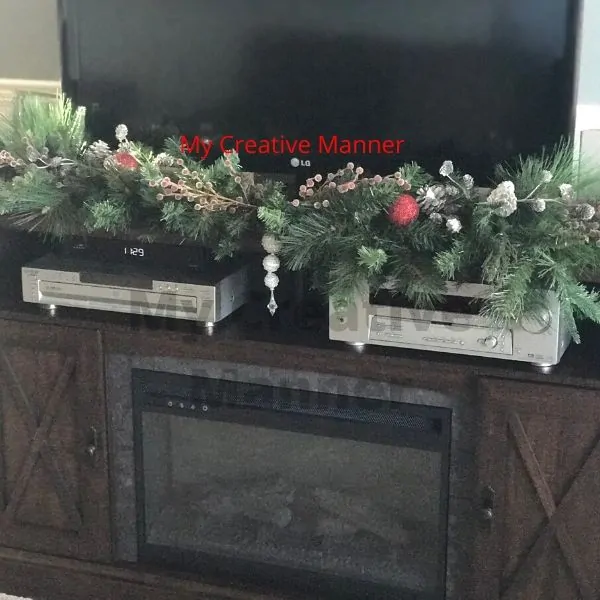
This garland I was really excited about creating. Normally I have garland with lights that have some pine cones in it, it's nice but not what I wanted this year.
Taking a cheaper garland that I bought last year at Micheals. I secured it to the tv stand by taping down the pipe cleaners with painter's tape to the stand.
Placing the base garland on the stand I twisted the pipe cleaners around it. It's nice and secure.
How To Make A Fuller Looking Garland
Folding the garland in half let me find the center. Take the center of the garland and place it in the center of the tv stand.
This helped to make sure I had the right amount hanging over each side of the tv stand.

To make the garland look fuller I added more pine picks. Adding three types of pine picks, throughout the length of the garland filled it in more.
Adding some pine cone picks, frosted cranberry picks, a large pine cone, and three textures of ornaments on both ends balanced the garland out.
In the center of the garland, I found an ornament that would dangle down. Placing a few ornaments throughout the garland gave it a splash of red.
Kitchen Tablescape

Moving on to our kitchen and dining area I have that cranberry red on our table. You can see how I put this together by visiting Christmas Table Scape.
SideBar As A Hot Cocoa Bar
Next to the table is the sidebar, I used this for a hot cocoa bar.
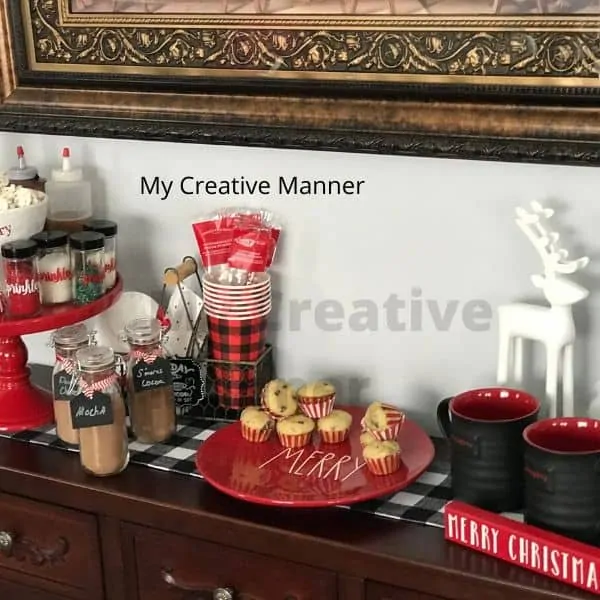
In the fall I set the hot chocolate bar up for the girls to use. With the weather getting cooler I thought they would enjoy this Hot Chocolate bar.
The mini muffins on that cute merry plate are my recipe for Chocolate Chip Banana Bread Muffins.
This time I made the recipe in my mini muffin tin instead of the normal size. Great idea for snacks in the kid's lunches.
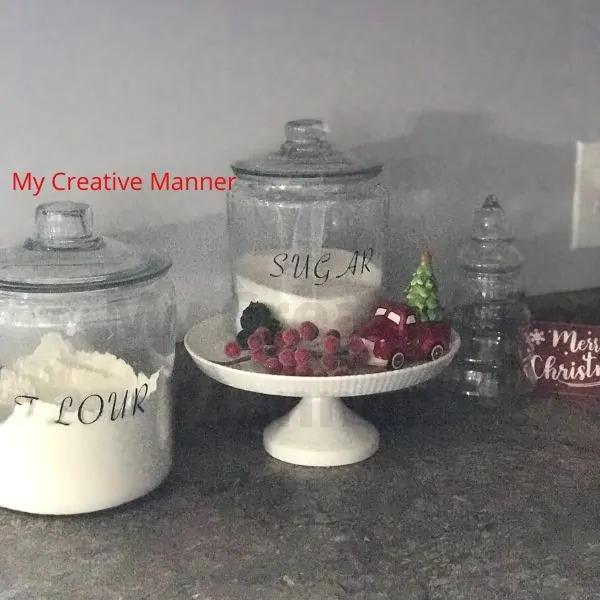
In the kitchen, I kept it kind of simple. Using things that I already had in my Christmas decor. As well as everyday decor.
Like this cake stand, I placed my sugar canister on it and added a few Christmas decorations. Just by using some of the things I had really changed the look of my everyday decor.
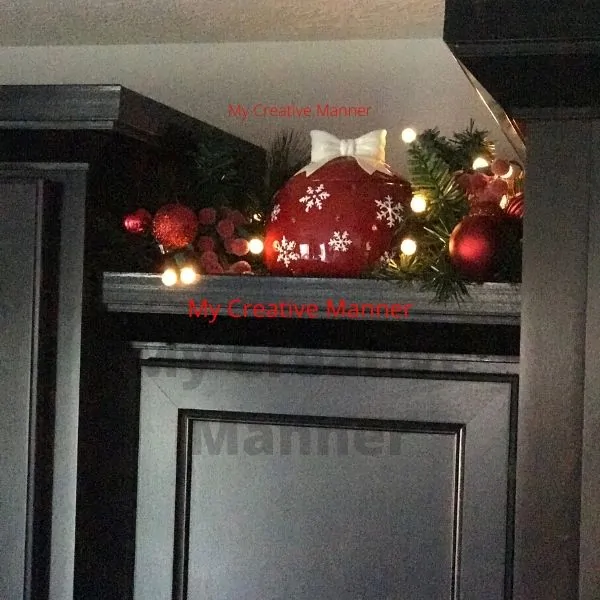
I really love to decorate the tops of the cupboards. Cookie Jars are one of my favorite items to put up there. Along with garland and lights.
In the evening when the lights are off you get the soft glow from lights.
In the tablescape article, I mentioned one of my goals this year. It was to make turning the lights on easier, plus not seeing any cords.
These lights are battery-powered and have a timer. They are on for 6 hours and off for 18, I love them.
No seeing cords hanging on the side of the cupboards and no running around plugging them all in.
Here is a video tour of our Christmas Home 2019. I hope you enjoyed it.
Other My Creative Manner articles you may like are:

Leave a Reply